Appearance
Publish Your Site
Get your site live in three simple steps.
Publishing Steps
Step 1: Final Review
Before clicking Publish:
- Preview your homepage
- Check mobile responsiveness (use responsive preview)
- Test all links work
- Review all pages are complete
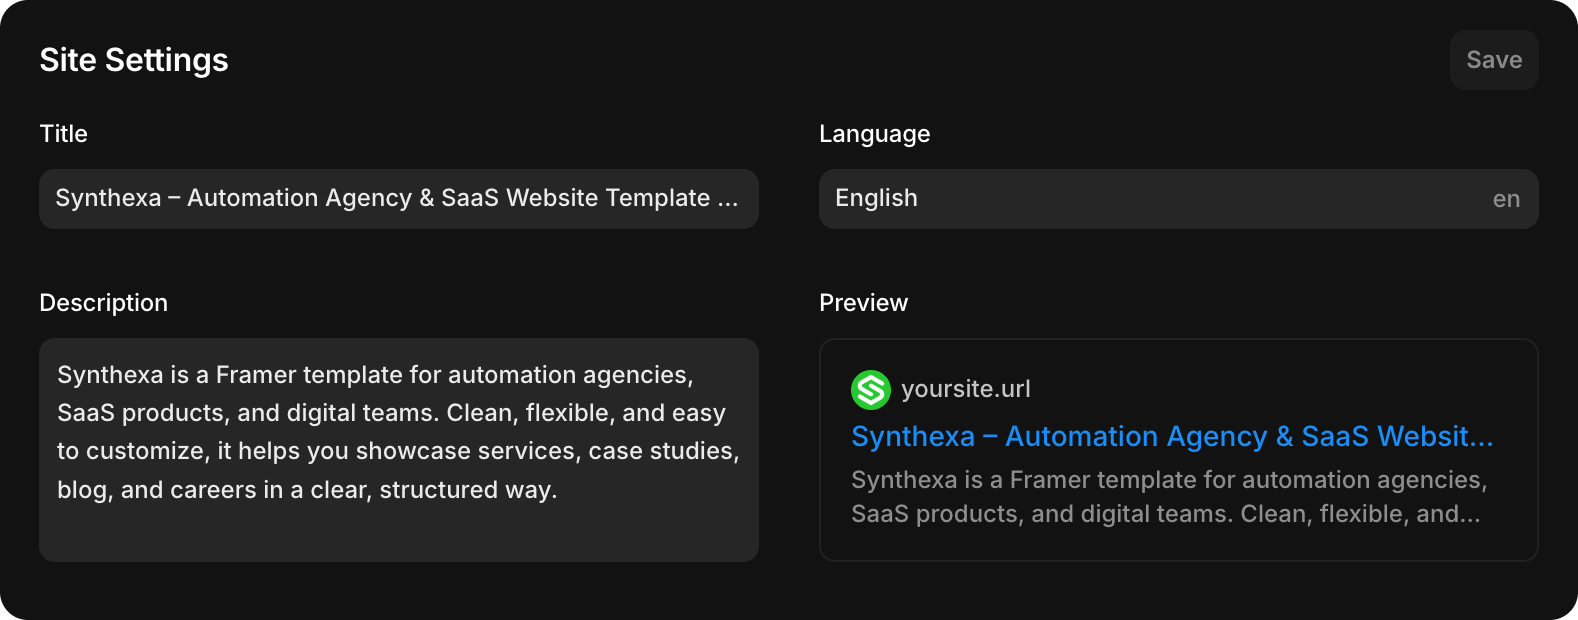
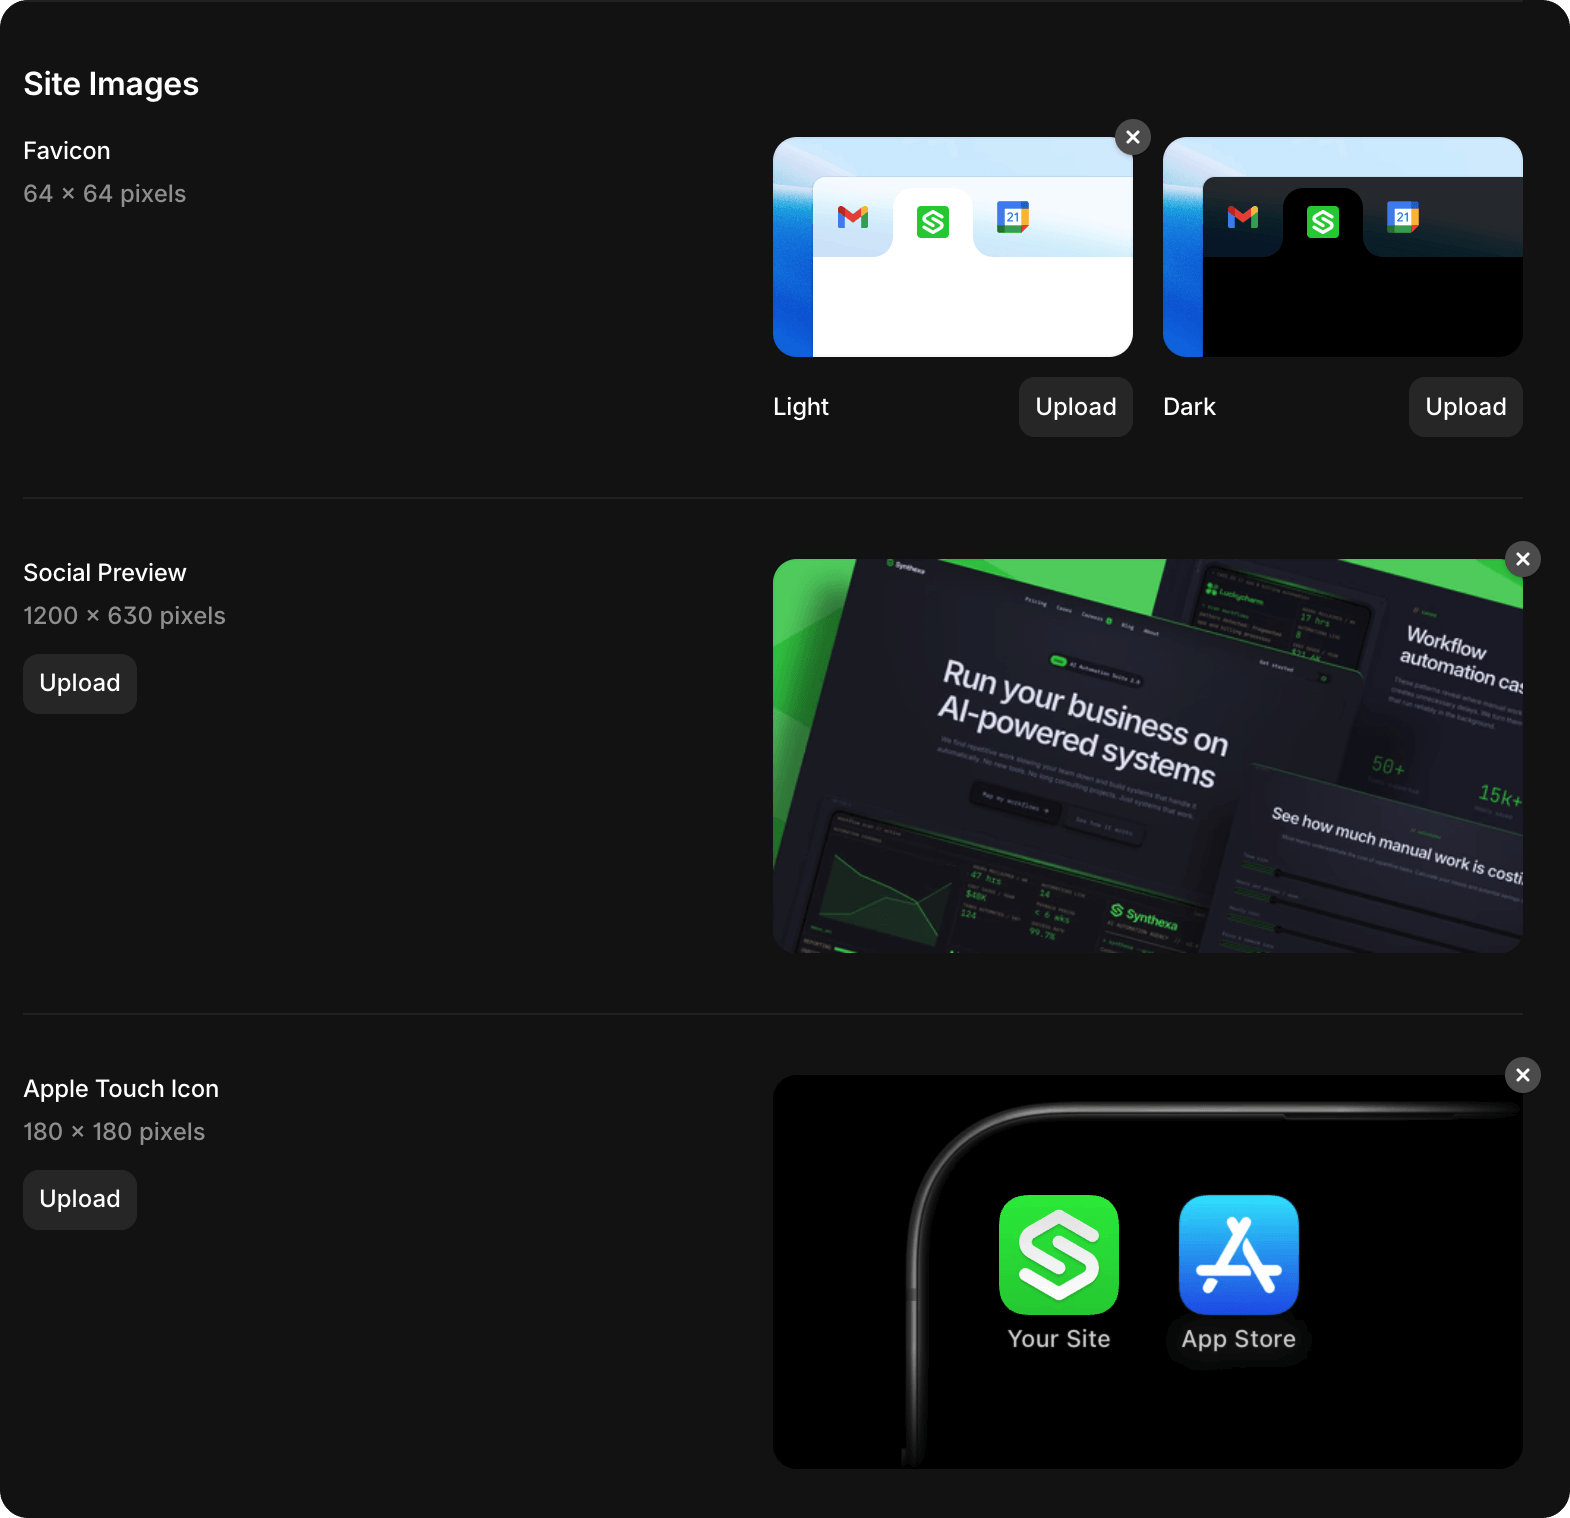
Step 2: Set Site Metadata
Go to Site Settings → General:
- Site Title: "Your Agency Name — AI Automation Agency"
- Meta Description: Brief description (150–160 characters)
- Social Preview Image: 1200×630px
- Favicon: 32×32px
Step 3: Click Publish
Top-right corner → Publish button
Framer will:
- Build your site
- Deploy to Framer's CDN
- Provide you with a subdomain URL
Your site is live immediately at something like:
https://your-project-name.framer.appConnecting a Custom Domain
To use your own domain instead of the Framer subdomain:
- Open Site Settings.
- Navigate to Domains.
- Add your custom domain.
- Follow the DNS instructions provided by Framer: https://www.framer.com/help/articles/how-to-connect-a-custom-domain/
Once connected, your site will be accessible through your custom domain.
Updating Your Site
After publishing, you can make changes to your site at any time. Simply republish for those changes to appear on the live website.
To republish:
- Make your updates in the Framer editor
- Click Publish in the top-right corner
Your changes will be deployed immediately.